Few things are as frustrating as a power outage when you're relying on your trusty Honda generator, only for it to sputter, refuse to start, or deliver an erratic performance. Honda generators are renowned for their reliability and engineering, but even the best machines require proper care and occasional troubleshooting. Just like any complex piece of equipment, they're susceptible to common wear, tear, and maintenance oversights that can lead to operational hiccups.
Understanding these frequent issues and how to tackle them empowers you to keep your generator running smoothly, often avoiding costly professional repairs. We're here to demystify those groans and grumbles, turning frustration into confident fixes.
At a Glance: Your Quick Fix Cheat Sheet
- Won't Start? Fresh fuel is your first, best friend. Stale gas clogs everything.
- Power Flickering? The Automatic Voltage Regulator (AVR) often needs a check or replacement.
- Overheating Fast? Give it space, clean the vents, and ensure the oil is topped off.
- Running Rough? Your carburetor probably needs a thorough cleaning due to fuel residue.
- Stalling or Surging? Look to your air filter, fuel lines, or spark plug for a quick resolution.
Why Even Great Honda Generators Sometimes Act Up
Honda generators are built to last, a testament to Japanese engineering precision. Their GX series engines, for instance, are legendary for their durability. However, the operational environment, fuel quality, storage practices, and routine maintenance habits significantly influence their longevity and performance. Most Genuine Honda generator parts are robust, but certain components are more prone to issues due to their function or exposure to external factors like dirty fuel or dust. Think of it like this: your car is reliable, but it still needs oil changes and tire rotations. Your generator is no different. Proactive care is the bedrock of preventing most common problems.
When Your Honda Generator Won't Start: The Fuel Culprit
This is perhaps the most common and exasperating issue generator owners face. You pull the cord, hear nothing but a click, or get a weak cough before silence. More often than not, the blame lies with your fuel.
The Stale Fuel Trap: An Invisible Saboteur
Modern gasoline, especially varieties containing ethanol, begins to degrade surprisingly quickly – often within 30-60 days. As it breaks down, it forms gummy deposits and varnish that wreak havoc on your generator's delicate fuel system. These residues can obstruct fuel lines, clog filters, and, most critically, foul the carburetor jets.
What's Happening Inside: Your generator needs a precise blend of fuel and air to ignite. If the fuel supply is compromised by stale gas, that mix is off, leading to either a failure to start or extremely rough idling.
Your Action Plan:
- Drain and Refill: If your generator has been sitting for a while (over a month) with fuel in the tank, the first step is to drain all the old fuel from both the tank and the carburetor bowl. Always dispose of old fuel responsibly.
- Fresh Fuel is Key: Refill with brand-new, fresh gasoline. Consider using non-ethanol fuel if available in your area, as it degrades slower and causes fewer problems.
- Fuel Stabilizer: Your Best Defense: For any extended storage (more than a few weeks), always add a quality fuel stabilizer according to the product's instructions. Run the generator for 5-10 minutes after adding the stabilizer to ensure it circulates throughout the fuel system. This is a small step that prevents massive headaches down the line and is a cornerstone of good comprehensive fuel system maintenance guide.
- Check the Fuel Filter: While you're at it, inspect the in-line fuel filter. If it looks dirty or clogged, replace it. A restricted fuel filter starves the engine, even with fresh fuel.
- Prime the System (If Applicable): Some generators have a priming bulb. If yours does, give it a few presses to ensure fuel reaches the carburetor.
Pitfall to Avoid: Don't just top off an old tank with new fuel. The old, stale fuel will quickly contaminate the fresh supply, and the deposits will still be present. A full drain is essential.
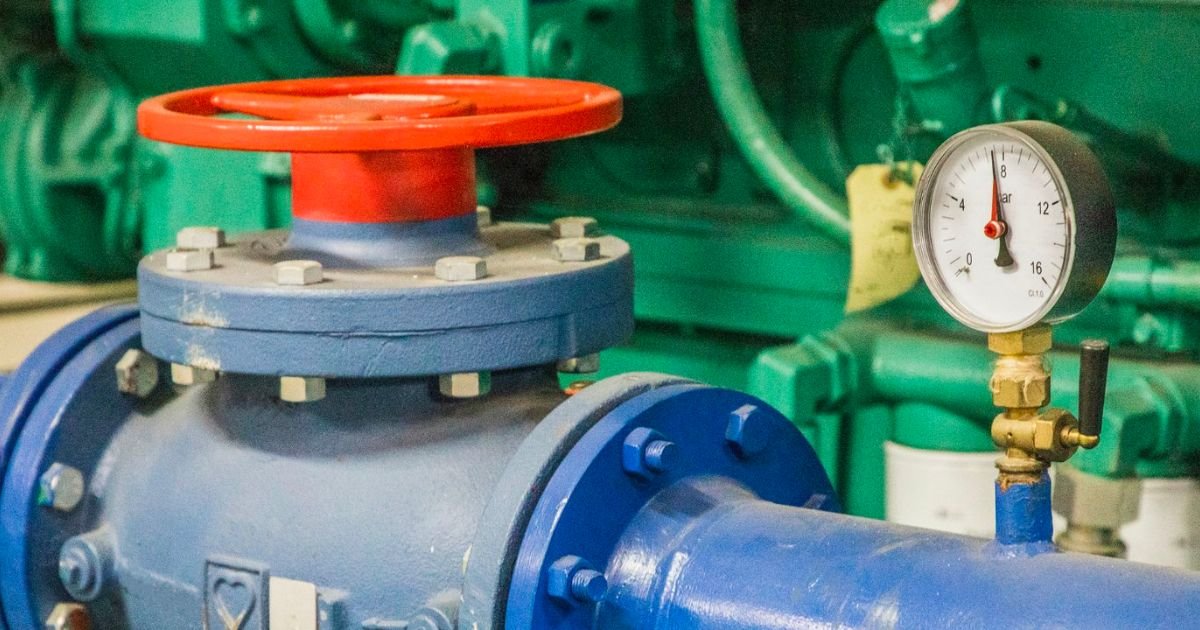
Unstable Voltage Output: When Power Goes Haywire
Imagine plugging in sensitive electronics, only to see lights flicker or devices behave erratically. Unstable voltage output is a serious problem, as it can damage connected appliances, especially modern electronics that require a consistent power supply.
The Automatic Voltage Regulator (AVR): Your Power's Guardian
The heart of stable voltage output in most modern Honda generators is the Automatic Voltage Regulator, or AVR. This small, often black box is responsible for maintaining a steady voltage output regardless of the load on the generator. It does this by adjusting the magnetic field within the generator's alternator.
Common AVR Issues:
- Wear and Tear: Like any electronic component, the AVR can degrade over time due to heat, vibration, and general usage.
- Overload: Repeatedly overloading your generator can stress the AVR, leading to premature failure.
- Poor Maintenance/Environmental Factors: Exposure to moisture, dust, or extreme temperatures can also shorten its lifespan.
- Loose Connections: Sometimes, the issue isn't the AVR itself but a loose or corroded wire connected to it.
Troubleshooting Unstable Voltage:
- Check the Load: First, ensure you're not simply overloading the generator. Disconnect all appliances and test the output with a voltmeter. If it's stable without a load, gradually add appliances, monitoring the voltage.
- Inspect Wiring: Carefully examine all wires leading to and from the AVR for any signs of damage, fraying, or loose connections. Tighten any loose terminals.
- Test the AVR: This usually requires a multimeter and some technical know-how. Consult your generator's service manual for specific testing procedures. Often, testing involves checking resistance values of various components within the AVR circuit.
- Replacement is Often the Solution: If testing confirms the AVR is faulty, replacement is typically the most straightforward fix. AVRs are generally sealed units, not designed for repair. When replacing, ensure you use a genuine Honda part specific to your generator model for optimal performance and longevity. Learning more about understanding the Automatic Voltage Regulator (AVR) can help you diagnose problems more effectively.
Expert Tip: If you notice voltage fluctuations immediately after starting, or if the generator "sings" differently under load, the AVR is a prime suspect. It's a critical component, and a faulty one can lead to damaged appliances.
Overheating Issues: A Hot Problem
A generator working hard will naturally get warm, but excessive heat, often accompanied by a burning smell or the engine shutting down, is a red flag. Overheating can lead to severe engine damage if not addressed promptly.
The Cooling System's Crucial Role
Honda generators, like most small engines, rely on air-cooling to dissipate heat generated during operation. This system involves a cooling fan (often integrated with the flywheel), air vents, and fins on the engine block.
Primary Causes of Overheating:
- Insufficient Airflow: This is the most common culprit.
- Cramped Spaces: Operating a generator in an enclosed space (like a garage with the door closed) or too close to walls, bushes, or other obstructions drastically restricts airflow.
- Blocked Vents/Fan: Debris (leaves, grass, dust, pet hair) can accumulate in the cooling fins or block the air intake vents, preventing cool air from reaching the engine.
- Insufficient Engine Oil: Oil plays a vital role in cooling by absorbing and transferring heat away from critical engine parts. Low oil levels mean less heat dissipation.
- Malfunctioning Cooling Fan: While rare, the cooling fan itself can be damaged or become detached from the crankshaft, rendering the cooling system ineffective.
How to Keep Your Cool:
- Ventilation is Non-Negotiable: Always operate your generator in a well-ventilated outdoor area, away from structures and anything that could impede airflow. Maintain at least 3-5 feet of clear space around all sides.
- Cleanliness is Next to Generator-ness: Regularly inspect and clean the cooling fan and all air intake and exhaust vents. Use compressed air or a soft brush to remove dust, dirt, and debris. This is especially important if you operate the generator in dusty or leafy environments.
- Check Engine Oil Religiously: Before each use, and certainly if you suspect overheating, check your engine oil level. Top it off with the manufacturer-recommended oil type if low. A routine oil change process is also crucial for engine health and cooling efficiency.
- Inspect the Cooling Fan: If you've addressed ventilation and oil and the generator still overheats, visually inspect the cooling fan. Ensure it's intact, securely attached, and spinning freely when the engine runs (with extreme caution, of course). If it's damaged or loose, it will need repair or replacement.
Safety First: Never touch a hot generator engine. Allow it to cool completely before performing any inspections or maintenance. Overheating can also be a sign of deeper engine problems, so if basic checks don't resolve it, professional diagnosis is recommended.
Carburetor Problems: The Heart of Fuel Delivery
The carburetor is a precision instrument that mixes air and fuel in just the right proportions for combustion. When it misbehaves, your generator will let you know with unmistakable symptoms.
Clogs and Contamination: A Carburetor's Worst Enemy
Most carburetor issues stem from the same source as starting problems: dirty or stale fuel. The tiny jets and passages within the carburetor are incredibly sensitive to even microscopic particles of dirt, debris, or the gummy residues left behind by evaporating fuel.
Symptoms of a Troubled Carburetor:
- Rough Running/Surging: The engine might rev up and down erratically.
- Black Smoke from Exhaust: Indicates a rich fuel mixture, often due to an obstructed air passage or float issue.
- Failure to Start (or hard starting): As mentioned earlier, a clogged pilot jet is a common cause.
- Engine Stalling: Especially under load, or when transitioning from choke to run.
- Fuel Leaks: Can be due to a faulty float needle or a damaged gasket.
The Carburetor Cleaning Clinic:
- Safety First: Disconnect the spark plug wire to prevent accidental starting. Drain all fuel from the tank and carburetor bowl.
- Disassembly: Carefully remove the carburetor from the engine. Take photos as you go to aid reassembly. Disassemble the carburetor into its main components (float bowl, float, needle, jets).
- Cleaning Agents: Use a dedicated carburetor cleaner (available in aerosol cans) to spray each part. Pay special attention to the tiny holes in the main jet, pilot jet, and emulsion tube.
- Clear All Passages: A thin wire (like a guitar string or welding tip cleaner) can be used to gently clear any stubborn clogs in the jets. Never use anything that could scratch or enlarge the openings.
- Inspect and Replace: Examine the gaskets, O-rings, and the float needle. If they appear worn, cracked, or hardened, replace them.
- Reassembly: Put the carburetor back together, ensuring all components are correctly seated and gaskets are new if needed.
- Test: Reinstall the carburetor, reconnect the fuel line, and refill with fresh fuel.
For a more in-depth walkthrough, refer to guides on how to clean your Honda generator's carburetor.
When to Replace: If after a thorough cleaning the problems persist, or if the carburetor body is visibly damaged (e.g., corroded or warped), replacement might be the most cost-effective solution. Carburetor rebuild kits are also available, but for many, a new carburetor offers better peace of mind.
Engine Stalling or Surging: The Air-Fuel Imbalance
Your generator's engine needs a harmonious balance of air and fuel to run smoothly. When this equilibrium is disrupted, you'll experience frustrating symptoms like the engine stalling abruptly or "hunting" (surging) where it revs up and down on its own.
Diagnosing the Air-Fuel Mismatch
Both stalling and surging point to an incorrect air-fuel mixture, but they often represent different ends of the spectrum.
- Stalling: Usually indicates fuel starvation or an overly lean mixture (too much air, not enough fuel). The engine simply doesn't have enough to burn.
- Surging: Typically points to an overly rich mixture (too much fuel, not enough air) or intermittent fuel delivery, causing the engine to struggle, then overcompensate.
Common Causes and Solutions:
- Clogged Air Filter (Stalling/Surging): A dirty air filter restricts airflow, leading to a rich mixture (more fuel than air for the available oxygen).
- Solution: Regularly inspect and clean or replace the air filter. This is a fundamental part of routine maintenance. Foam filters can often be washed and oiled, while paper filters should be replaced.
- Fuel Pump Issues (Stalling): If your generator has a fuel pump (common on larger models or those with remote fuel tanks), a failing pump won't deliver enough fuel to the carburetor, causing starvation and stalling.
- Solution: Check the fuel pump for proper operation. You might hear it click or whir when the engine is trying to start. Look for leaks or kinks in the fuel lines. A simple test involves disconnecting the fuel line at the carburetor and checking for fuel flow when attempting to start the engine (safely, into a container). Replace the fuel pump if it's not delivering fuel.
- Clogged Fuel Lines (Stalling/Surging): Similar to carburetor issues, fuel lines can become partially blocked with debris or gummy residues, leading to inconsistent fuel flow.
- Solution: Inspect fuel lines for kinks, cracks, or blockages. Disconnect and blow compressed air through them, or replace them if damaged.
- Faulty Spark Plug (Stalling/Surging): A worn, fouled, or improperly gapped spark plug can lead to an inconsistent spark, causing misfires, rough running, and eventual stalling or surging as the engine struggles to maintain combustion.
- Solution: Remove the spark plug and inspect it. Look for carbon buildup, oil fouling, or a damaged electrode. Clean it with a wire brush if it's just carbonized, or replace it if it's badly fouled or worn. Ensure the gap is set to the manufacturer's specification. This simple check can often resolve frustrating engine issues. More detailed instructions can be found in a guide on replacing your Honda generator's spark plug.
- Carburetor Adjustment (Surging): Sometimes, especially after cleaning or if the generator has been transported, the carburetor's idle or mixture screws might need fine-tuning. However, this is usually a last resort and often best left to experienced hands, as improper adjustment can cause more problems.
Key Takeaway: Engine stalling and surging are often symptoms of the engine not getting what it needs (air or fuel) in the correct proportion. Regular, proactive maintenance of your fuel system, air filter, and spark plug prevents most of these problems.
Proactive Maintenance: Your Best Defense Against Repairs
While knowing how to fix common problems is empowering, preventing them in the first place is even better. Here's a quick rundown of essential practices:
- Fuel Management: Always use fresh fuel. For storage beyond a month, use a fuel stabilizer or drain the fuel system completely. This is the single most important preventative measure.
- Oil Changes: Follow Honda's recommended oil change schedule (often every 50-100 hours of operation or annually). Clean oil lubricates better and helps with cooling.
- Air Filter Service: Check and clean/replace the air filter regularly, especially in dusty conditions. A clean filter ensures proper airflow for optimal combustion.
- Spark Plug Check: Inspect the spark plug annually or after extended use. Clean or replace it as needed to ensure a strong, consistent spark.
- General Cleanliness: Keep the generator clean, free of debris, and ensure cooling fins and vents are unobstructed.
- Proper Storage: Store your generator in a dry, protected environment. If storing for a long period, prepare it for storage by adding stabilizer, running it, and then draining the fuel or ensuring the stabilizer has circulated.
Beyond DIY: When to Call in the Experts
While many common Honda generator repairs are well within the grasp of a mechanically inclined owner, there are times when it's prudent to seek professional help.
- Complex Electrical Issues: Problems beyond a simple AVR replacement, especially those involving the stator or rotor windings, often require specialized tools and diagnostic expertise.
- Internal Engine Problems: If you suspect issues like low compression, strange knocking noises, or persistent oil leaks that aren't easily identifiable, it's best to have a certified technician diagnose the problem.
- Safety Concerns: If you're ever uncomfortable or unsure about a repair, or if there's a risk of electric shock or injury, don't hesitate to call a professional. Safety should always be your top priority.
- Warranty: If your generator is still under warranty, attempting complex repairs yourself might void it. Always check your warranty terms before diving into extensive work.
Taking the time to understand your Honda generator, performing routine maintenance, and knowing how to troubleshoot common issues can significantly extend its lifespan and ensure it's ready to perform when you need it most. With a little care and attention, your generator will be a reliable power source for years to come.